Kingo Root: Discover 3 Steps to Root any Android Phone with 1 Click

Share This Post

Android OS is gradually taking it’s place as the mobile king: every tom, dick and harry now own one. This insane increase in consumers has lead to the development of many third-party ‘useful’ Android application.

As a measure intended to shield your Android device from malwares synonymous with most third-party applications, the OS does not accept application unapproved by Google (unapproved applications may be installed but will not work correctly on non-rooted Android devices).
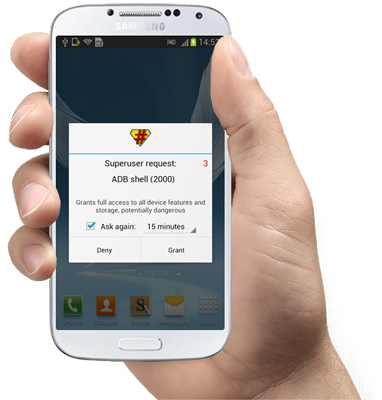
Rooting (or jailbreaking) your Android device gives you unimaginable control over your device, letting you have master control on how your device functions; update the OS, replace the firmware, overclock (or underclock) the processor, customize just about anything.

In the past rooting might be an easy “nut to crack” for Mr. tom Mr. dick, but certainly not for Mr. harry. The process was generally complicated and you might just end up in the ‘bricked’ zone with one miscalculated move. In this tutorial, I’m going to show you how to root/jailbreak any Android phone with just 1 click (or maybe 2).

Requirements:

– A healthy Windows PC (Windows XP, 7, 8 or higher).
– You must have Kingo Android Root software installed in your PC. If you don’t have the software, you can download a copy here.
– Your device must be properly charged.

Compatibility Check Up

To begin the rooting process, make sure you have downloaded and installed Kingo Android Root software on your PC: The application will root any (or at least 95%) android device with 1 click but to remain on the safer side, check if your device is compatible with the software.

Enable USB Debugging

If your device is among the compatible devices, proceed to your device settings and enable USB debugging. If it’s running Android 4.0 or 4.1 follow this steps to enable USB debugging:
  • GOTO Settings.
  • Navigate to Developer Options
  • Tick the box just beside “USB debugging.” (You may need to switch “Developer options” to On before you can do so.)
Image: Enable USB Debugging

Follow this steps if your device is running on Android 4.2 and later:

  • GOTO Settings
  • Navigate to About Phone
  • Enter Developer Options
  • Tick the box next to “USB debugging“.
  • Then Click OK to save your changes.

Run Kingo Android Root Software

After enabling USB debugging on your device, locate Kingo Android Root icon on your start menu or desktop. Run the application by double clicking on it and connect your device via its USB sync cable. If your device is connected successfully, you should see an indication at the bottom-left corner of the software interface.
Image: Root your Android Device

1 Click Rooting

Once your device is connected; you are just 1 click away from being the master of your Android phone/tablet. Click ROOT, grab a cup of coffee and watch Kingo Android Root do the rest for you. The whole process is automated and should take up to 2 mins; your device maybe rebooted a couple of times.
Now your device is rooted, you can enjoy applications such as Screencast Pro. You can also check out how to use Android application on your Windows PC or Mac.
Beware:  Rooting your Android device will make it open to malware attack, to remain on the safer side; only install applications from trusted sources and websites.

Un-Root your Android

If you decided rooting is just ‘what it is’ you can always sign off by running the Kingo Android Root software on your PC,  reconnect your device via USB sync cable and click UNROOT when your device is set.
You can also opt for any of these popular Android UNroot methods instead. They’re best for mostly MTK-powered devices.

Stay Ahead: Join the EwtNet Insider Email Club!

Stay informed and up-to-date with EwtNet's email subscription. Join our exclusive community and receive curated news, updates, and insights tailored to your interests.

Related Posts

How Nimbuzz Lost to Whatsapp and BBM in the IM Battle

As a high school boy in 2007, I always...

Screencast Pro – Make Quality Videos with your Android Phone

This application works with rooted Android phones only. It...

How to Ensure Videos Saved in HD Look Good

If you’re starting to dip your toes into creating...

What Is Benchmark? How to Benchmark Your PC for Free

 A benchmark is the standard by which a pc...

Install Windows 10/8/7 From USB Flash Drive with UEFI Support

Learn how to make Windows 10, 8 & 7 bootable from USB Flash Drive with UEFI support, using media creation tool, Windows robocopy or a third-party software.

New Microsoft adapter lets Xbox One’s Kinect play nice with PCs

Xbox One owners will be able to attach their...
- Advertisement -

Discover more from EwtNet

Subscribe now to keep reading and get access to the full archive.

Continue reading